(Note that the other end of the nipple has a barbed or ribbed end!)
Michael Schneider
April 13, 2000
A different way to fix the PMT connector problem
In the last PMT repair 1999 we used the Fisher connector and heat shrink tubing to fix the leaking of the connector. The test of this FIX was done on clean connectors and bulkheads which had NO failure.
In real life most of the connectors are not holding up to our clean water and are corroding very badly. A Fisher connector regional representative told me over the phone that he would expect long term problems. All this and the experience from the last repair told us to look into a way of a NO connector solution.
So, here is ONE:
The first step is on "land" to get ready.
0: open up the PMT
1: open up the PMT bulkhead hole to .8" (takes 1 min.)
2: put 1/2" NPT (pipe thread) into it (2 min.)
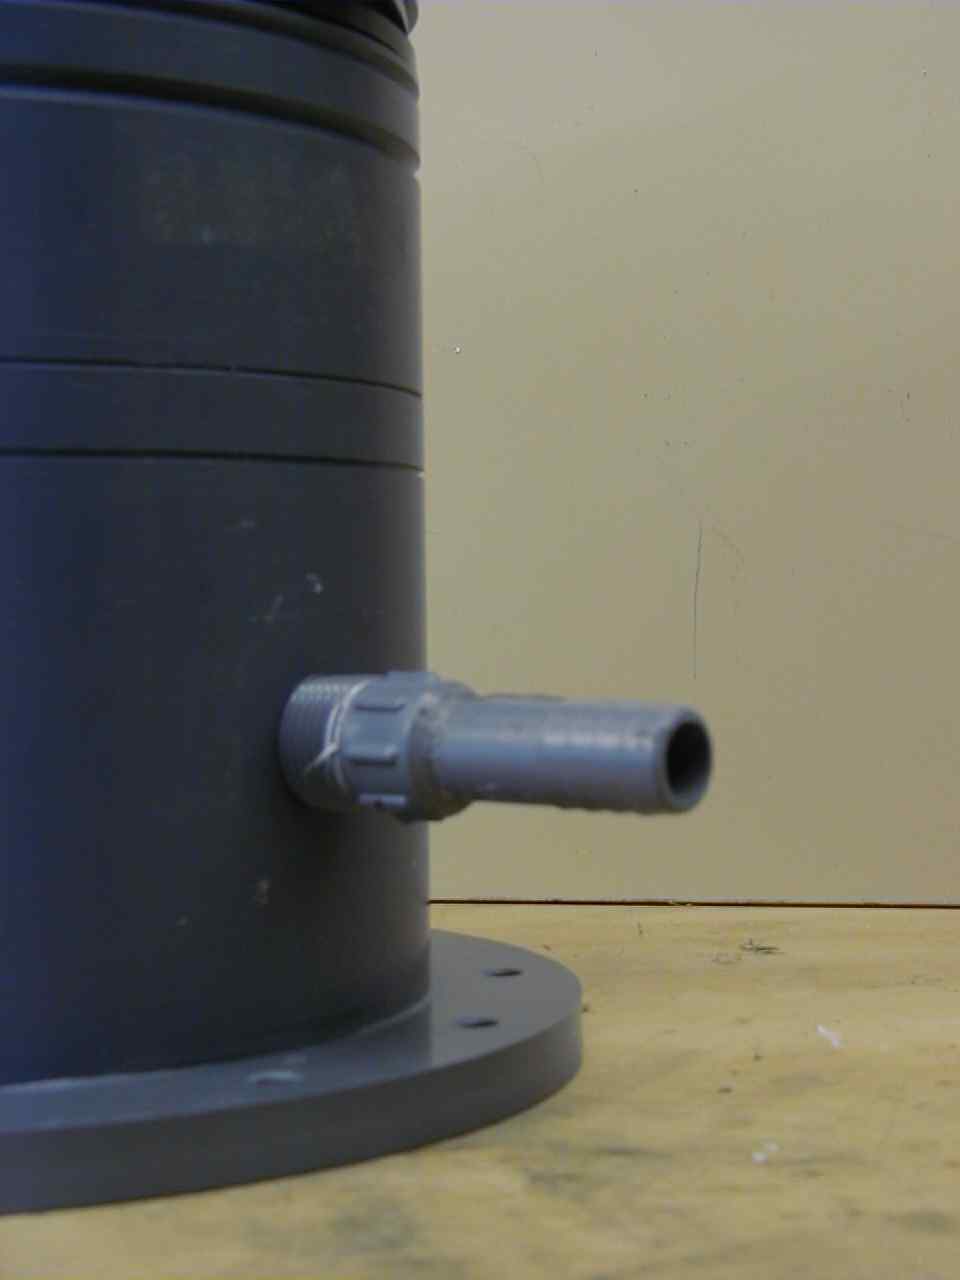
3: glue a PVC male NPT nipple into it. (Tony’s glue; 5 min.)
(Note that the other end of the
nipple has a barbed or ribbed end!)
4: Take the two wires (HV connection on the base board) and pull them through the PVC nipple.
5: Close the PMT up (leak tight) and apply a second glue bead (RTV) to the PVC outside seal. (This is an option and needs 24 h curing.)
At this time the PMT can be checked one more time and is ready for the installation!
In the Pond:
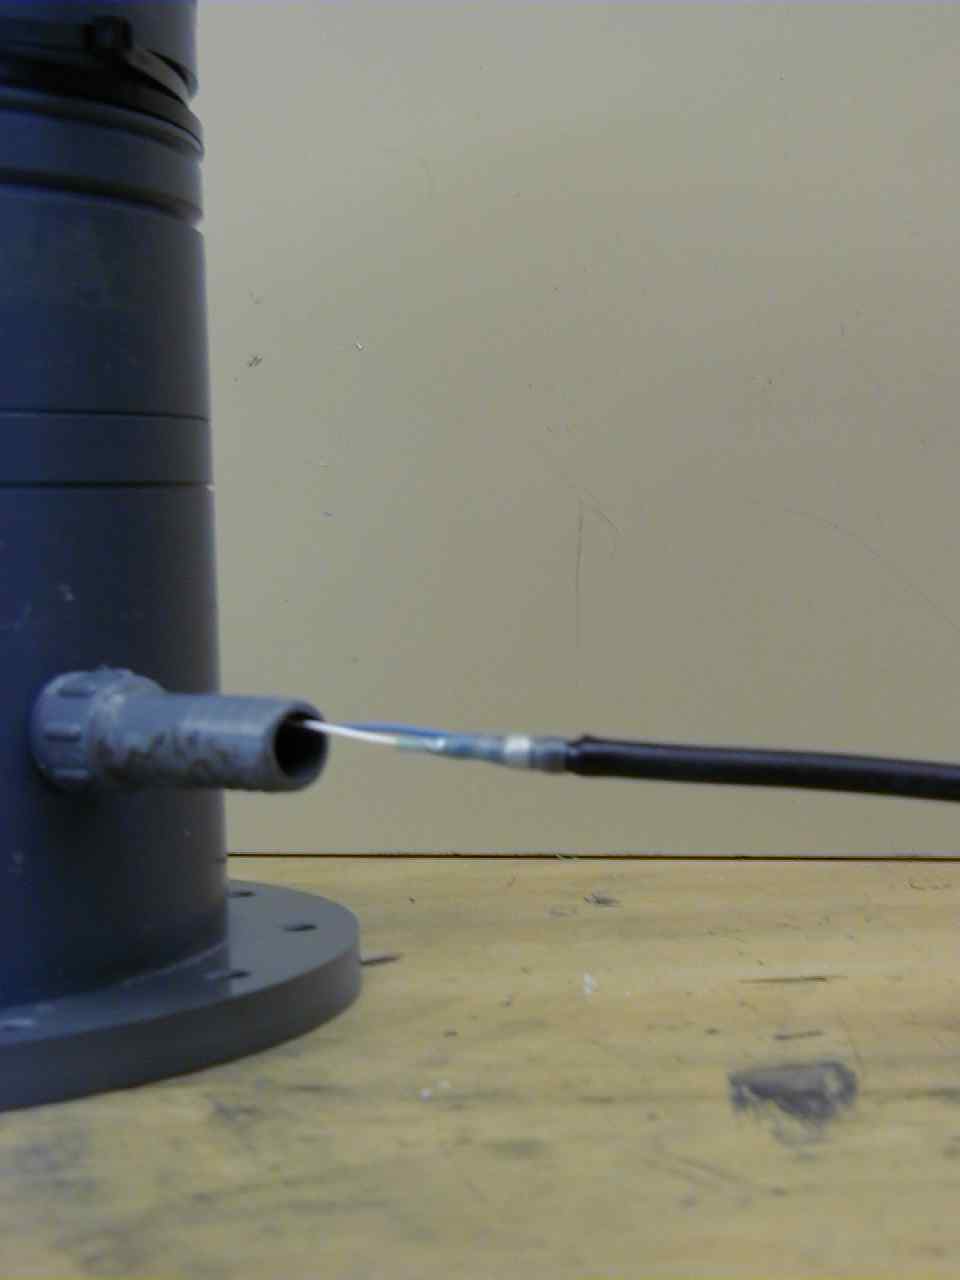
1: take the bad PMT off the cable
2: cut the Fisher connector off from the cable
3: cut the Jacket back by 1"
4: cut the shield back to 1/4 "
5: cut the dielectric back by 1/4 "
6: we have a 1/4" length of conductor left.
7: push 4" heat shrink tubing over the cable (same one we used last year)
8: connect the pond cable to the two wires of the PMT and heat shrink them with different (regular) heat shrink
9: push the connection back into the PMT housing
10: check the connection!
11: heat shrink the tubing over the nipple and the cable
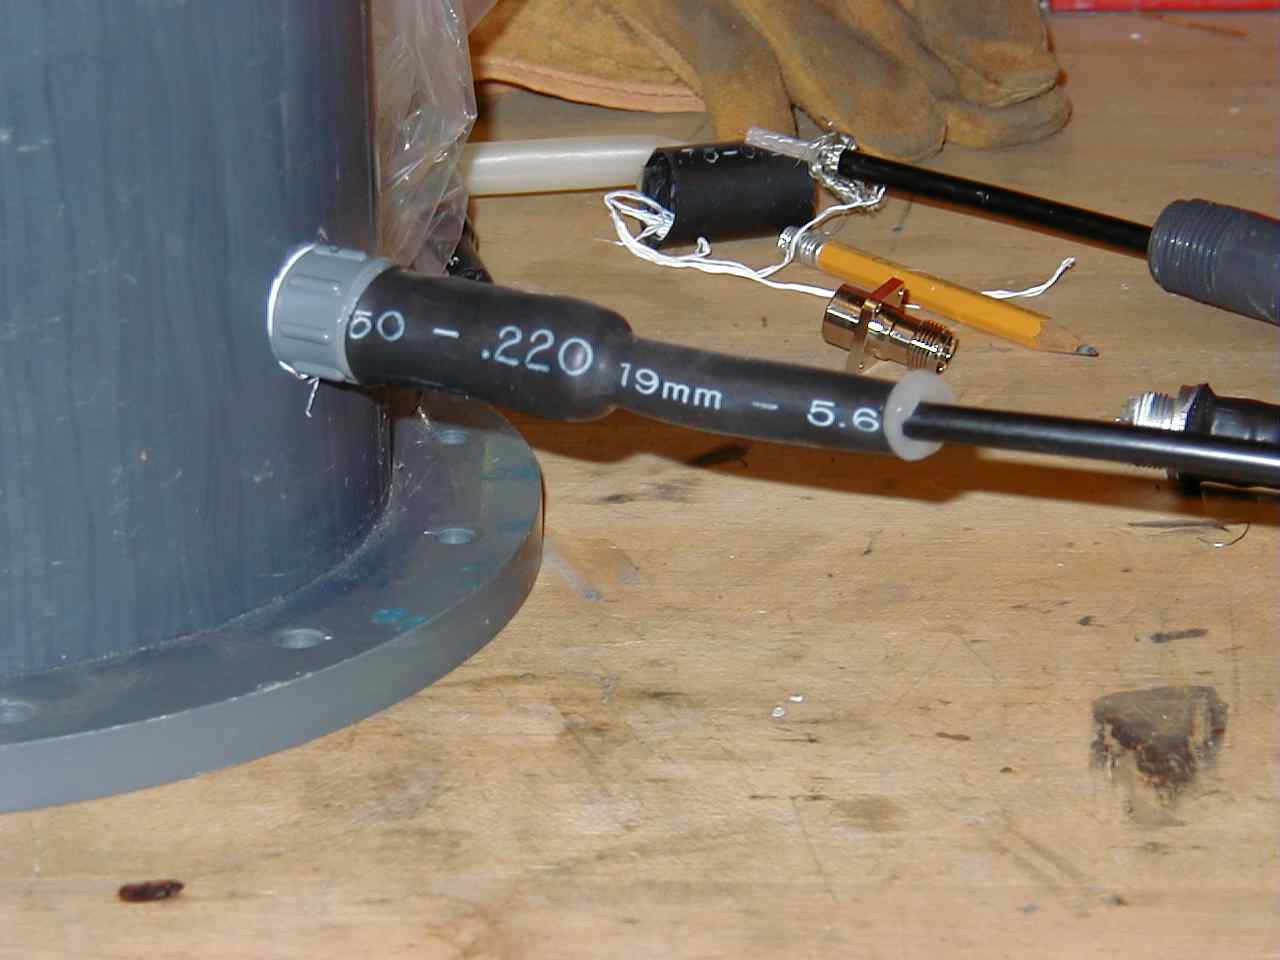
12: put a strain relief on the cable (at this point a stainless steel wire twisted around the jacket with a loop to be hooked up to the PMT base hook).