Author: Gus Sinnis (for Scott Delay)
Date: 07/11/97
Subject: IGLOO RE-DESIGN
Introduction
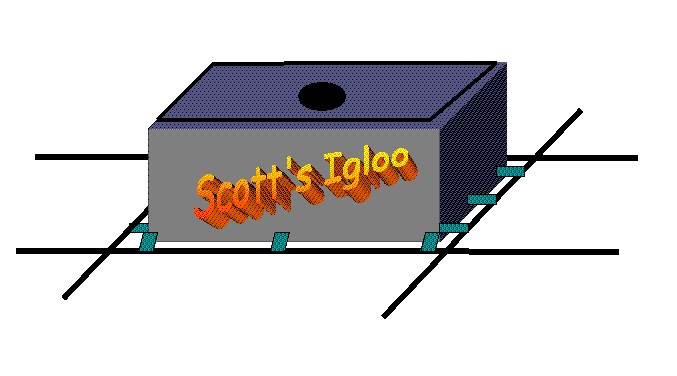
Scott has come up with a flexible igloo design that has many advantages over our previous designs. The basic idea is replace the rigid frame/igloo with a flexible membrane (i.e. plastic bag). The bag is tied down to the grid at the bottom. Buoyancy "inflates" the bag in the water. The shape is maintained by a PVC frame tied to the top if the igloo. This frame also provides any extra needed buoyancy (over what the pmts provide).
Design Details
The inside of the box is lined with Tyvek. There are holes in the bottom to allow water in and out, and holes in the top for air. The holes in the top will be covered with a flap that is held down by snaps or Velcro. Tabs with grommets on the bottom are used to tie the igloo to the existing grid structure. There is plenty of ballast in the grid to hold the igloo plus PMTs down (from Peter N.). The PVC frame on the top holds the shape of the box and provides extra ballast if it is necessary. It is held in place by a series of tabs.
The hole in the top is 10" diameter. A PVC flange will be bolted on the inside of the bag and the PMT’s flange will be bolted to this flange during installation. We need to think a little more about the water system inlet. However, this should be straightforward.
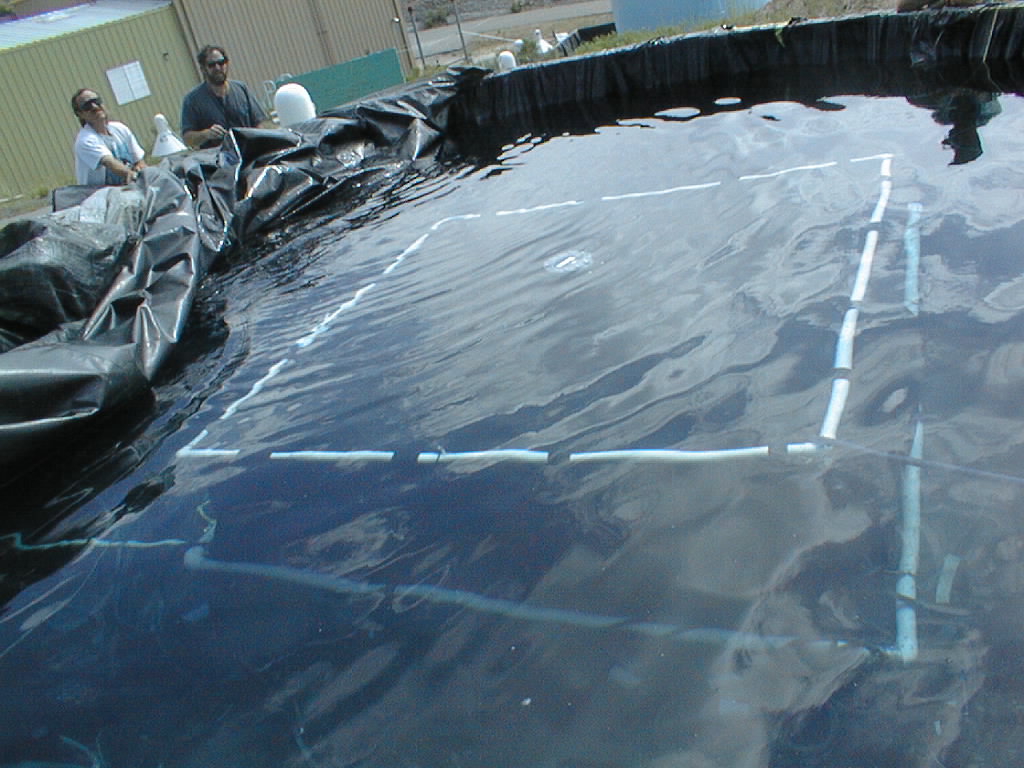
Testing
Plans
The Neal Co. (makers of our cover) are working up a bid for 170 of these igloos. They can use any material we want – Hypalon (with scrim), the existing cover material (has a scrim) or the cover material (Polypropylene) without a scrim. I asked them to bid it for Hypalon and cover material with no scrim. They will line the boxes with Tyvek and put all tabs, holes, and flaps in place. The difference between Hypalon and Polypropylene is the buoyancy. Hypalon sinks and Polypropylene floats. We want the bottom to sink and the top to float. However, if we are going to use the PVC frame for ballast the extra buoyancy from the Polypropylene is small (a few pounds).
Implications for Installation
I think this idea makes our entire installation tractable. Since the igloos are flexible, they can go in flat from a catenary position. In this state we can walk on them and bring the cover down on them. We are no longer vulnerable to the whims of Nature during the longest stretch of the installation. In addition, the PMTs that are attached to the igloo are no longer suspended 3’ in the air – they are lying on the bottom. This means that if we do a dry installation they are only vulnerable for 1 day, the time it takes to fill the bottom wedge with water.
Conclusions
After 3 years of thinking, we had a difficult igloo design that forced us to make some rather unrealistic installation plans (in my view). Scott D. has solved our last major hurdle to getting Milagro built on time and within budget. I think he deserves our thanks (he actually deserves a lot more but probably won’t get anything else).