
Assembly Gallery
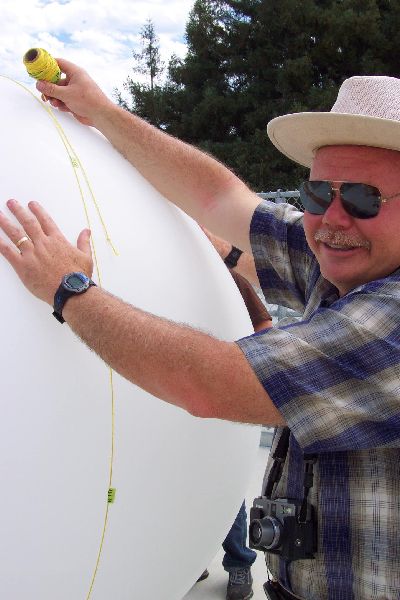
A simple way of judging the lift is to measure the circumference, which gives you the volume which gives you the lift.
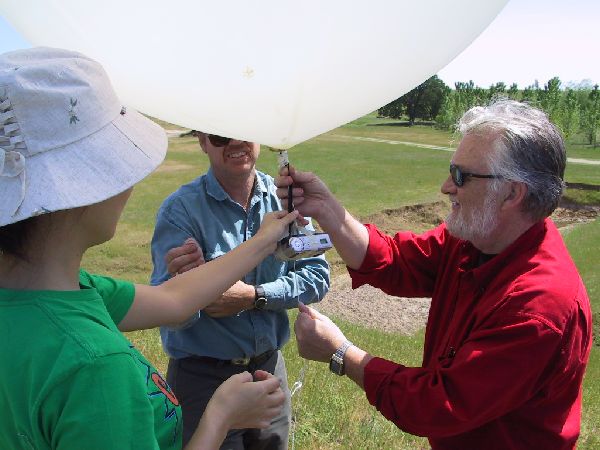
Steve monitors the balloon's circumference during filling.
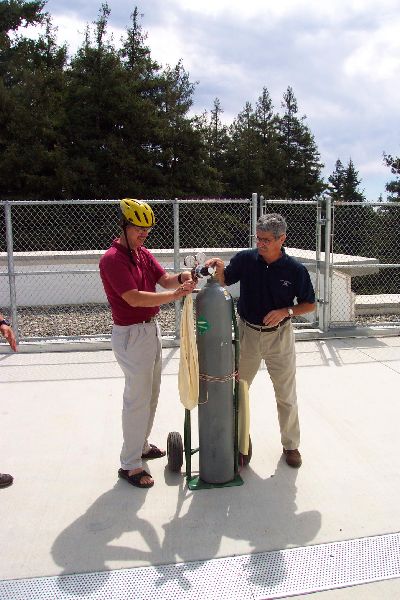
Alternatively, using the flexible tube you can simply fill the balloon until it lifts the gondola plus an additional 500 to 1000 g depending on the wind.
Stuart test for 1 kg (gold mass) of excess lift. Mass is removed before launch.
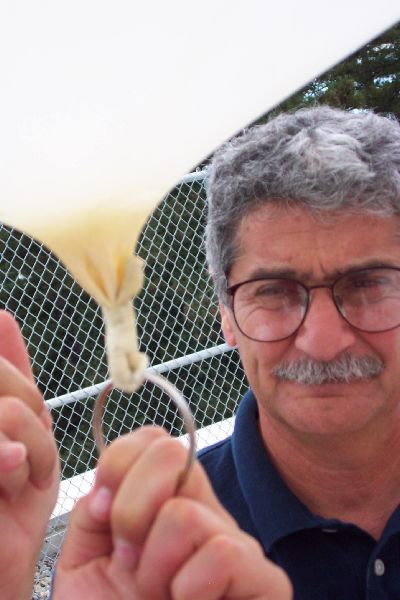
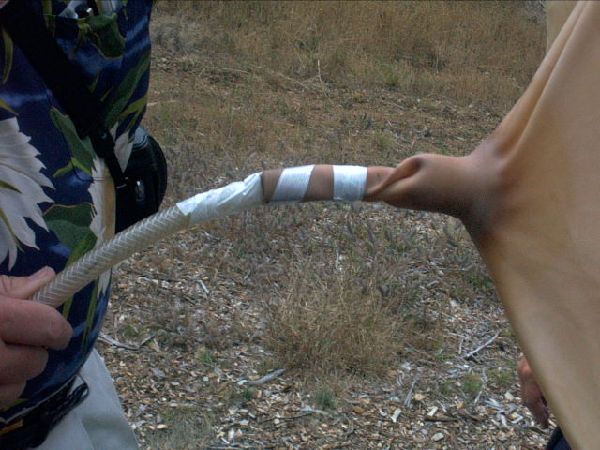
Tying off the reinforced neck of the balloon by twisting it, securing it with filament tape, doubling it back around a metal ring, and then securing it with more filament tape is recommended.
John demonstrates a completed tie-off.
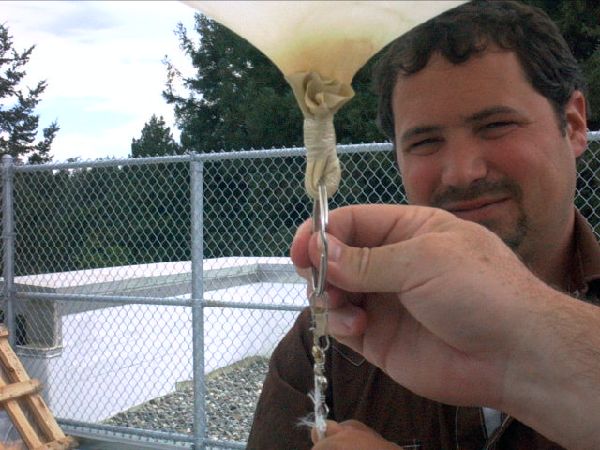
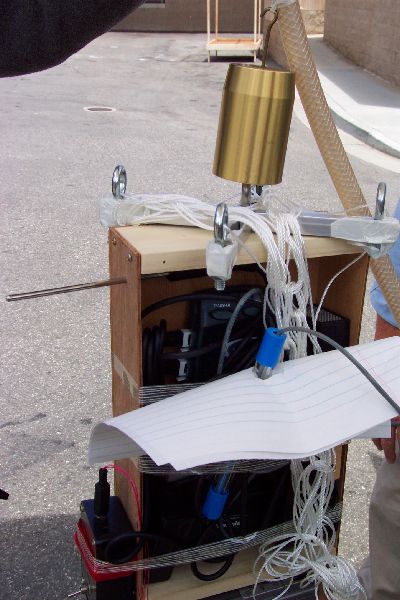
Attach both the flight line and gondola securely to the metal ring. Make sure that all notes are doubly secured and any fasteners are strong enough.
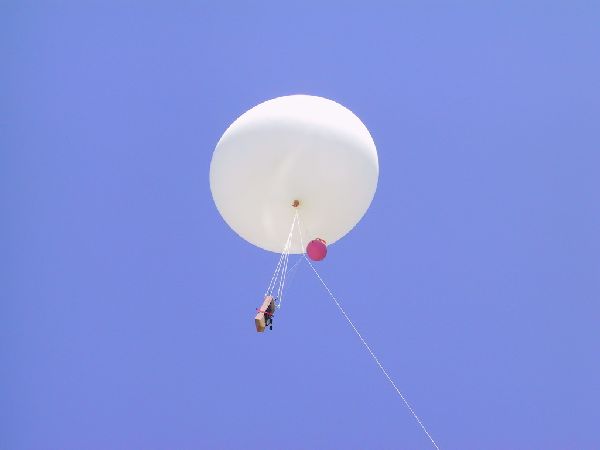
James examines the hook up of the flight line and the picavet suspension.
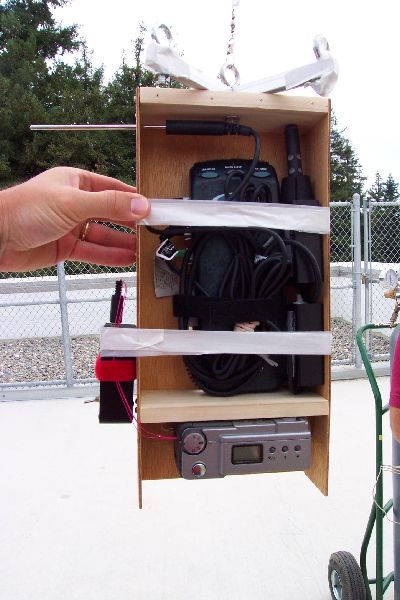
Just before release, make sure that all instruments are secure. Start your stopwatch, the LabPro and the Intervalometer at the same time. Check once more that each component is functioning before release.
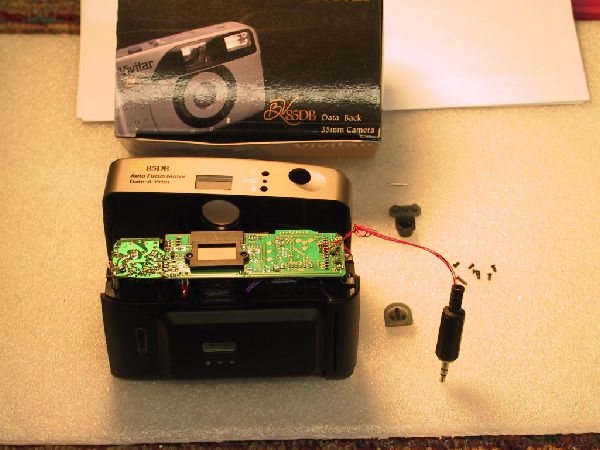
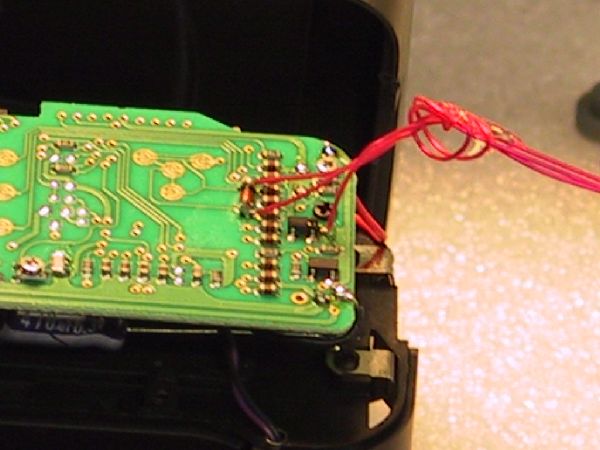
LapPro with carbon dioxide, temperature, and relative humidity sensors as well as camera and intervalometer
Make sure that the Picavet suspension system is untangled.
Stop every 50 ft and attach a strip of surveyors tape (fluorescent plastic ribbon).